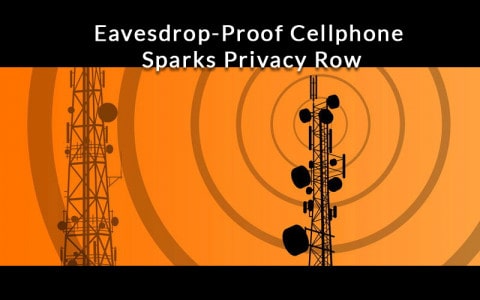
Eavesdrop-Proof Cellphone Sparks Privacy Row
AMSTERDAM: A German company launched a new mobile handset on Tuesday, targeted at business executives, that secures lines from …

South Korea probes North Korea’s cyber-casino
SEOUL: Security authorities here have launched a crackdown on South Koreans who have gambled through a “cyber-casino” run by …
Pushing the ‘new’ Fifth Estate
PETALING JAYA: Harvard Law School’s research arm Berkman Centre for Internet and Society is organizing a conference next month …

Judge: Kazaa Cannot Sue
LOS ANGELES: The company that distributes Kazaa filesharing software can’t sue the major record companies and Hollywood studios for …

Vietnamese Cops Tighten Controls on Internet access
HANOI: Authorities in a southern Vietnamese province have restricted access to Internet sites critical of the government, state-controlled media …

Sun: Make education Open-Source
EDUCATION ministries all over the world should look at open-sourcing their textbooks, teaching aids, instructional materials and assessment tools, …

Finding a way to make the Net truly global
THE Internet Corporation for Assigned Names and Numbers’ (ICANN’s) meetings in Kuala Lumpur last week were the first ever …

OSS – Get the Right Picture
I READ Nah Soo Hoe’s article, Defending OSS (see In.Tech, Oct 11), with great interest and would like to …
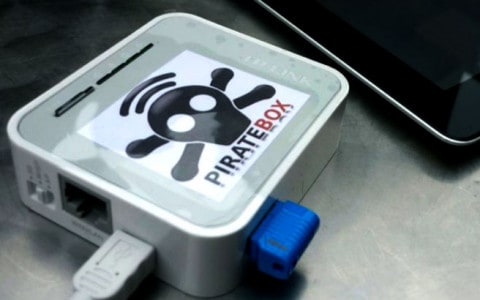
Future of Filesharing
PEOPLE download illegal content from the Internet using various means. This is a fact that nobody can deny. About …
When NOT to use WiFi
LONDON: A British military scientist has warned that using wireless technology when connecting to the Internet could compromise the …
Made-in-Malaysia MMOG
MARKET research firm IDC Malaysia has reported that the online gamers in seven countries – Malaysia, Singapore, Korea, China, …
Hewlett-Packard PAVILION DM3 – An All-Rounder
A snazzy looking notebook, the HP Pavilion dm3 is great for working on the go. WE HAVE been wanting …
Samsung Q35 – Lots of Extras for this Laptop
BRIGITTE ROZARIO takes the Samsung Q35 ultraportable notebook for a spin and reflects on the wisdom of equipping it …
SATELLITE M100 Review for this Slim Laptop
CHONG JINN XIUNG ends the year with a look at the Toshiba Satellite M100. SATELLITE M100 (Toshiba) Ultraportable notebook …